The Stripe payment gateway is one of the most used payment gateways after PayPal. The gateway enables you to accept credit cards and acts as a third-party payment processing platform.
Most of the eCommerce, membership, product, and services based websites use Stripe payment system on their websites to process transactions.
RegistrationMagic is a WordPress form builder that allows you to build any type of form on your WordPress website. In addition to that, the plugin comes with a range of payment gateway integrations that allows you to set up payment processing systems such as Stripe, PayPal, WePay, and more.
The plugin is easy to use and requires zero coding to integrate Stripe on your forms. Moreover, the plugin can be used even by WordPress beginners.
How to set up the Stripe payment system on a WordPress form
To set up your Stripe payment system and incorporate it into your forms, you need to download the RegistrationMagic plugin. To download and install the plugin on your website click this link or click the button below.
Try RegistrationMagic Premium!
Once done, ensure that your website has SSL encryption. Without SSL, you can’t set up Stripe payments on WordPress. Further, you can follow the steps below to set up your Stripe payment system:
Configuring Stripe Payment
Step 1: Go to the RegistrationMagic “Global Settings” page from your Dashboard menu bar.
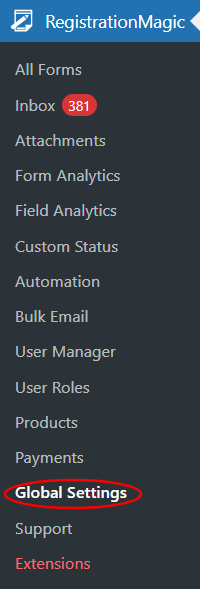
Step 2: Find “Payments”, and click to open the “Payments” settings page.

Step 3: Here, you will find a list of payment gateways that you can use on your WordPress website. From this list, select “Stripe” and click on the configure icon given next to it.

Step 4: On the configuration page, you need to add Stripe Keys to start using it. You can find these keys in your Stripe account.
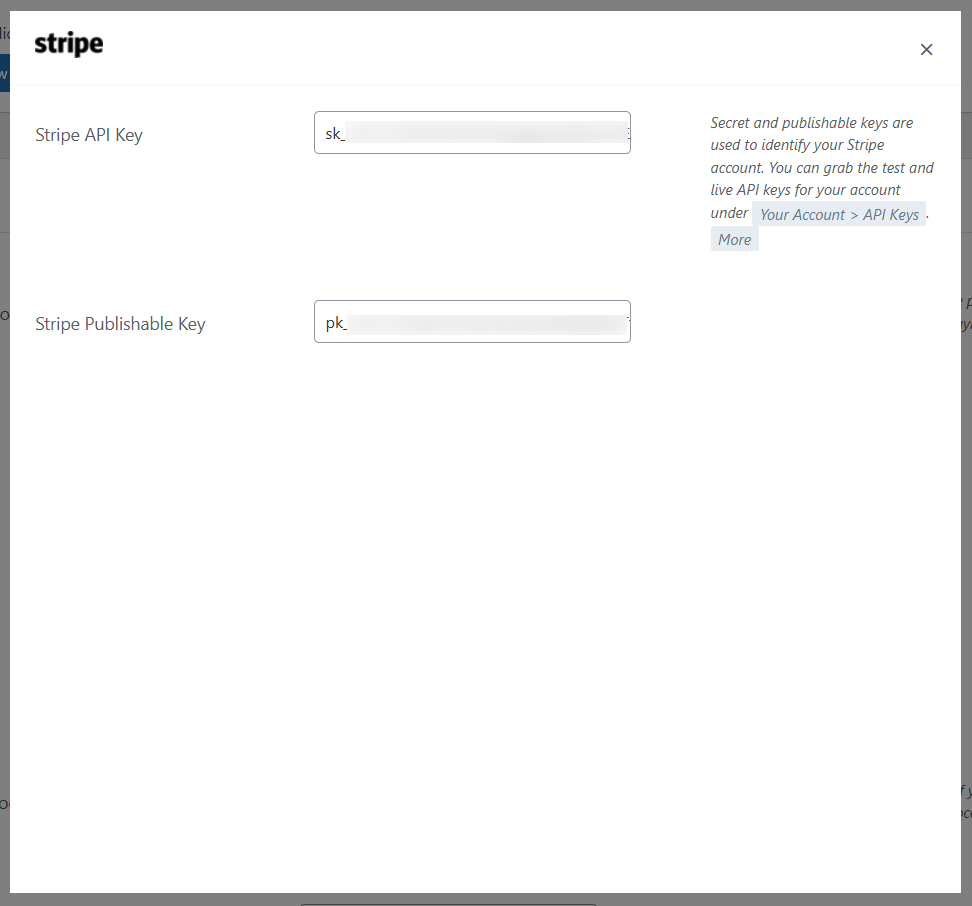
Step 5: Once done, save the setting.
Note: It is possible to add more than one payment gateways. You can enable PayPal or any other gateway from the list alongside Stripe.
Create a Product
Step 1: Once you have set up the Stripe payment gateway, go to “Products” under the RegistrationMagic menu bar.
Step 2: Create a new Product.
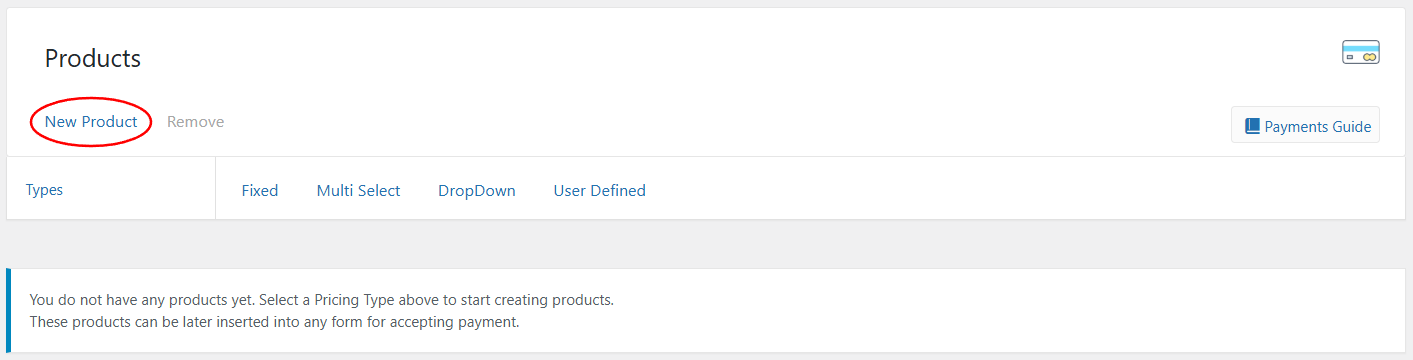
Step 3: Further, you can set the product type & pricing.

For Example: You can select from fixed, multi-select, drop-down, and user-defined pricing structures. If you are an NGO, you can use user-defined. But, a food joint can have a fixed price.
Step 4: Similarly, add the Name and Price of the product. You can choose any name for this product.
Step 5: Further, you can allow users to specify quantity if you want to allow users to make more than one purchase at a time. For instance, if you are selling pens, you can allow the user to select if they want 1, 2, 3, etc.
Step 6: Once you are done configuring the product details, save the product and move to the next step.
Make a Stripe Custom Form
Now that you have configured and set up your Stripe payment system and the Product, go ahead and create a form.
Step 1: To create a Stripe payment form, go to “All Forms” and click on “Add New Form”.
Step 2: Add a name to your form.
Step 3: If this is a registration form, then don’t select ‘Turn off user registration for this form.’ If this is not a registration form, then you can select the option.
Step 4: After giving a name to your Stripe payment form, click on Save & Close.
Assign the Product
Step 1: From the All Forms list, find your form and click on “Fields”.

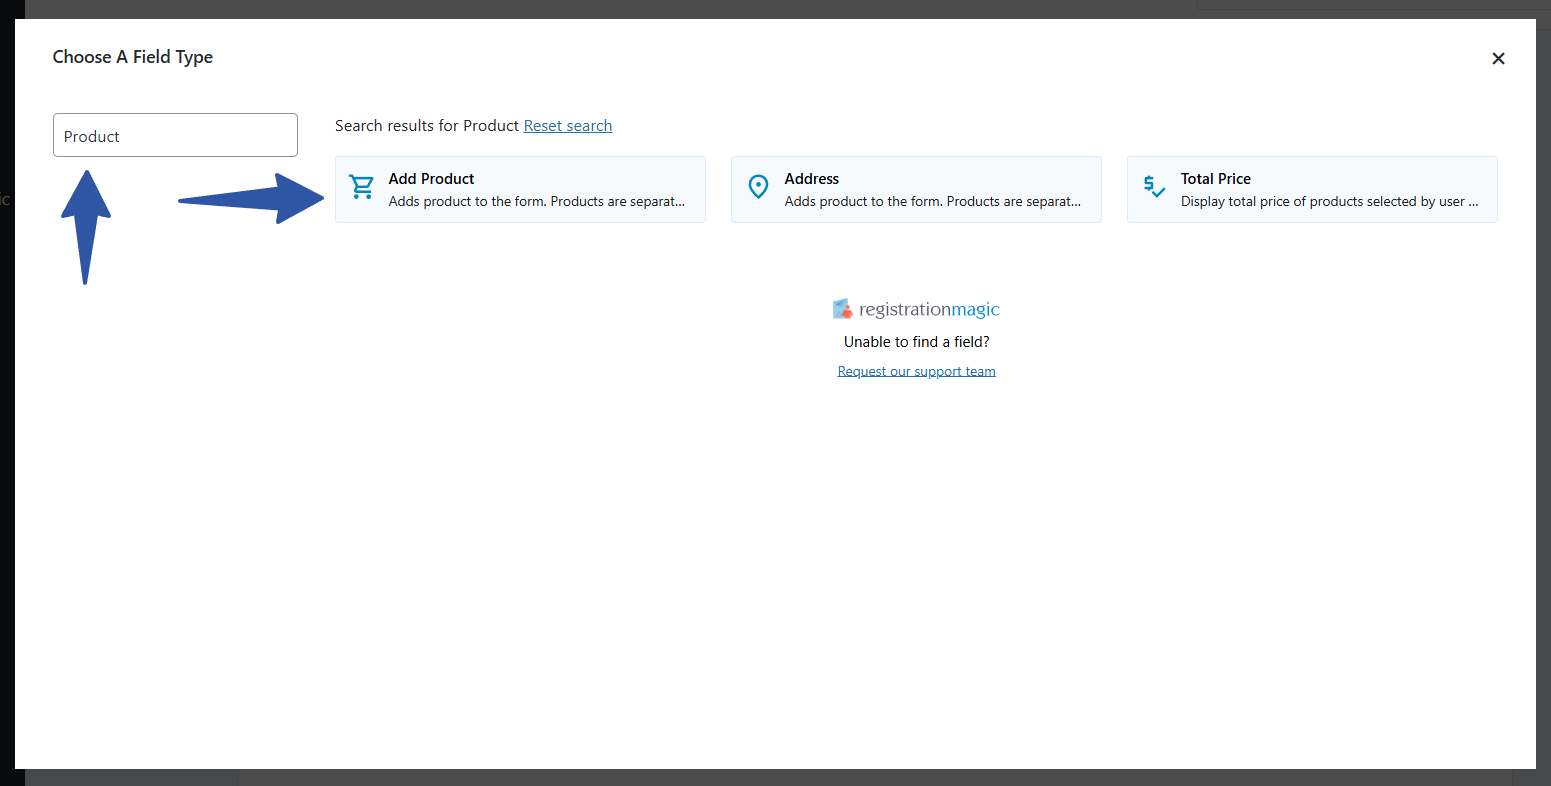
Step 2: In “Fields Manager”, you need to click “Add Field” to add product field to your Stripe form.

Step 3: From field selection popup, choose “Add Product”.
Step 4: Here, give a label to your product and select the “Product” that you have created.
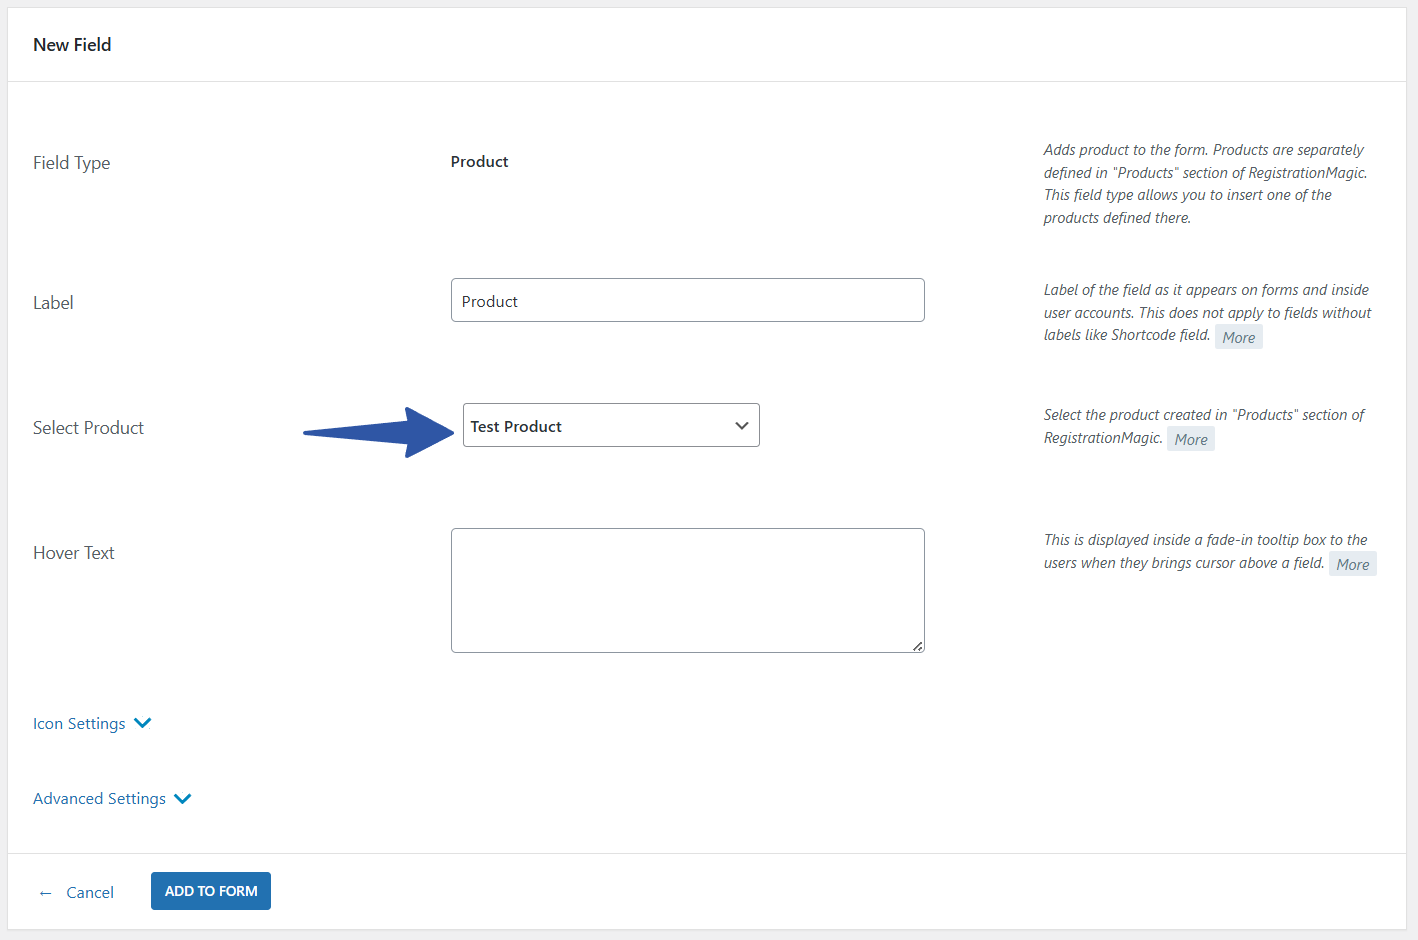
Step 5: Once done, save the field.
Once the product is added to your form, the Stripe payment system will be added to the form automatically on the frontend.
Frontend Example of the Form with Stripe Payment System
Here is the frontend example of the Stripe payment form:

Summing Up
Many businesses add Stripe to WordPress websites to simplify payments. WordPress Stripe payments provide an optimum way to accept money online.
With RegistrationMagic, you can add Stripe as well as other payment types, such as PayPal, WePay, and more. You can explore all the features of RegistrationMagic here.
Hopefully, this guide has helped you set up your Stripe payment form. If you still require further assistance, comment below. Our team of experts will reach out to you with a solution.
- A Complete Guide on Bulk Emails [Expert Tips] - January 15, 2026
- How to create a student registration form on a WordPress Website - July 21, 2025
- How to Manage User Registration Status in WordPress - August 8, 2023
- Send Emails to Registered Users in WordPress with Ease - August 6, 2023
- How to Create a User Registration Form on WordPress - September 22, 2022
- Registration Based WordPress Contact Form Plugins - September 15, 2022
- Create a Job Application Form on WordPress Website- In Depth Guide - September 14, 2022
- How to create an efficient Marriage Registration Form in WordPress - November 26, 2021
- How to make a flexible vendor registration form for your business - November 24, 2021
- Creating a Smart Membership Form for Your WordPress Website - November 22, 2021