
Send Automated Welcome Emails in WordPress with RegistrationMagic
By sending automated welcome emails you confirm a user’s membership on your site. Automated welcome emails are easy to send and do not need manual composition of every email on the backend. So, enhance the user admin communication on your site with automated emails. So that your users rely on the efficiency and customer support system of your business.
As soon as you complete a user’s sign up process on your site, you can send automated welcome emails. Though you don’t need to compose every single automated email that you send out, yet an automated email is customizable. RegistrationMagic is a user registration plugin that offers various automated email templates that you can customize.
So, whenever your users submit a registration form, RegistrationMagic will help you send automated welcome emails to their inboxes. The automated emails of RegistrationMagic are unique since you can even inject form submission field data in it such as username, first name, last name etc.
As an example, the registration form has a field “Date of Birth” which the user fills with “05/05/1990”. Now, in the email, we can add the “Date of Birth” field to customize it. Thus, your users will find their “Date of Birth” in the automated welcome emails.
So, let’s go ahead and start the process of setting up automated welcome emails for your WordPress user registrations.
Complete Automation Guide for WordPress forms
The Automated Email Section of RegistrationMagic
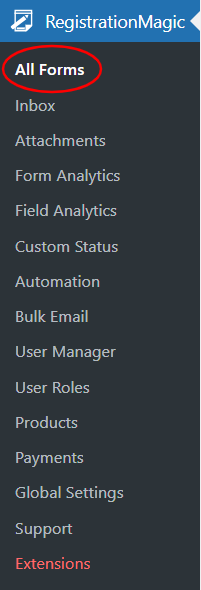
First, install the RegistrationMagic plugin from your WordPress Dashboard. After installation, you will find the plugin menu on your menu panel in the backend. From there, go to the “All Forms” menu.
This will land you on the All Forms page. Here, you will find all the forms that you create through this plugin. Now as you move your cursor over any form, you will find two links appearing at the bottom of it. These are the Dashboard and Fields links.
From the Fields link, you can add custom data fields to your WordPress user registration forms.
Tip: If you want to display privacy policy or terms & conditions checkbox on your form, please check out our guide on how to add terms and conditions checkbox to WordPress form.
The Dashboard lets you take care of the WordPress form settings such as security, design etc.
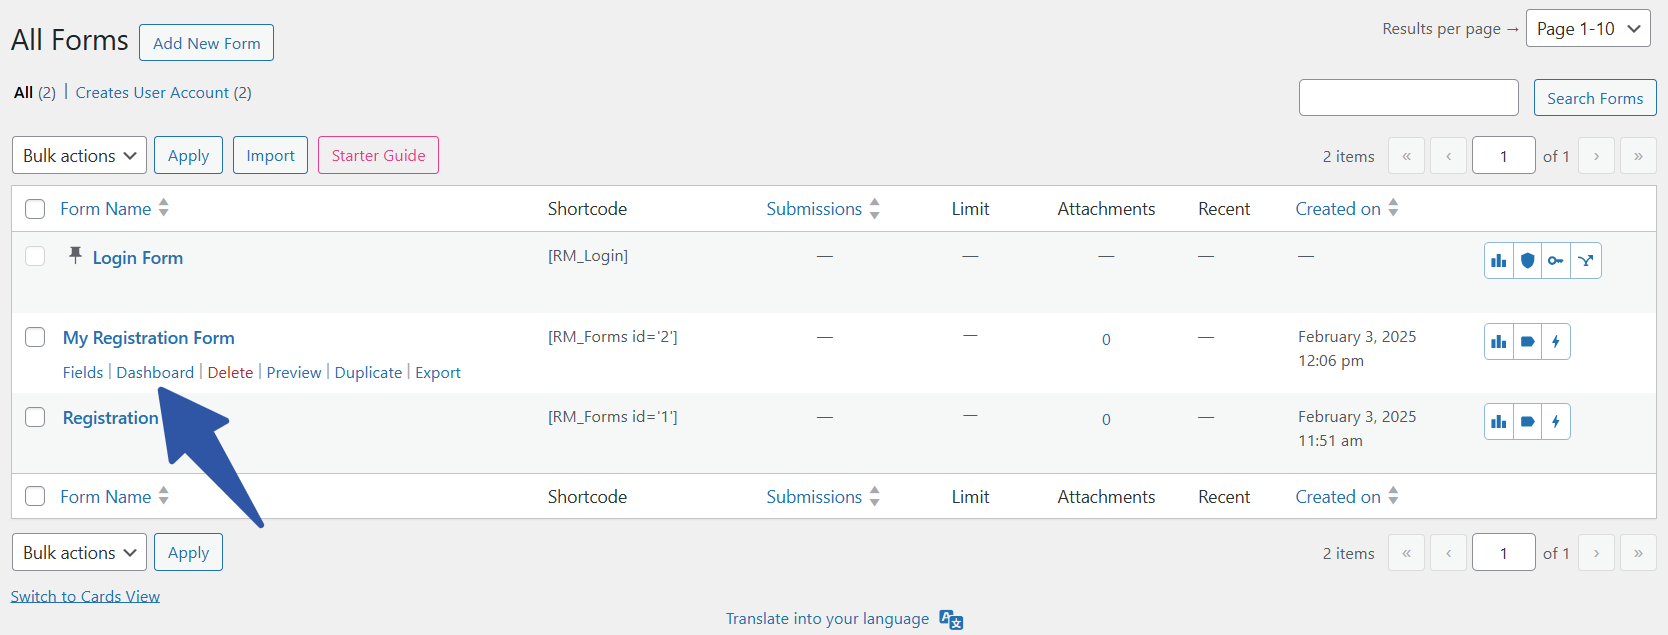
Clicking on the Dashboard link will take you to the form’s Dashboard page.
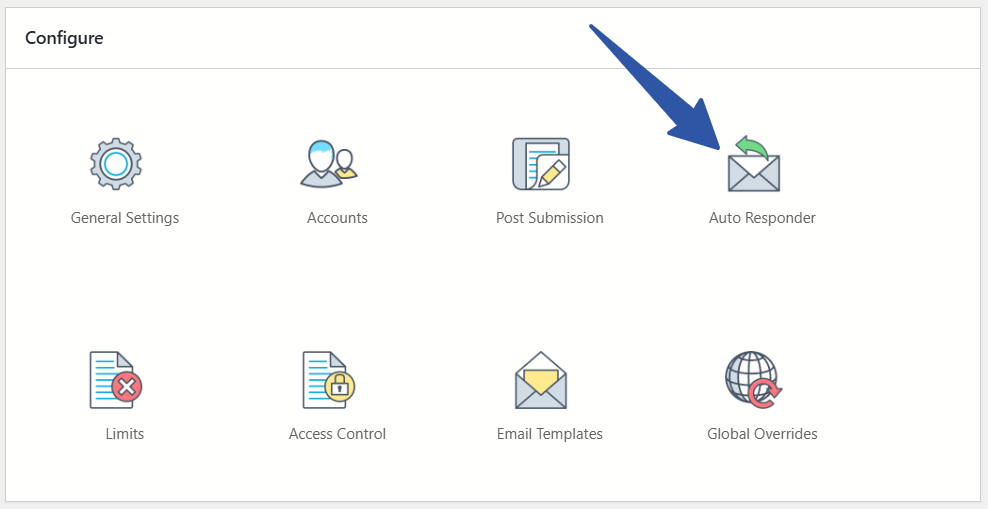
Now, scroll down to Auto Responder under the Configure section here. This is the place from where you will find settings for automated welcome emails.
Compose the Automated Welcome Email
When you click on the Auto Responder link, you land on the form specific Automated Responder set up page. First, check the box “Auto-Reply the User”. This turns on automated email messages for the form. The user can now receive an email with a successful form submission.
Checking the checkbox will prompt you to fill in the Subject. Next, you can write the content that the user will find in the mail.
Fill the subject input box with a customized text such as “Welcome User”. This is the subject of the Email that the users will find in their inboxes.
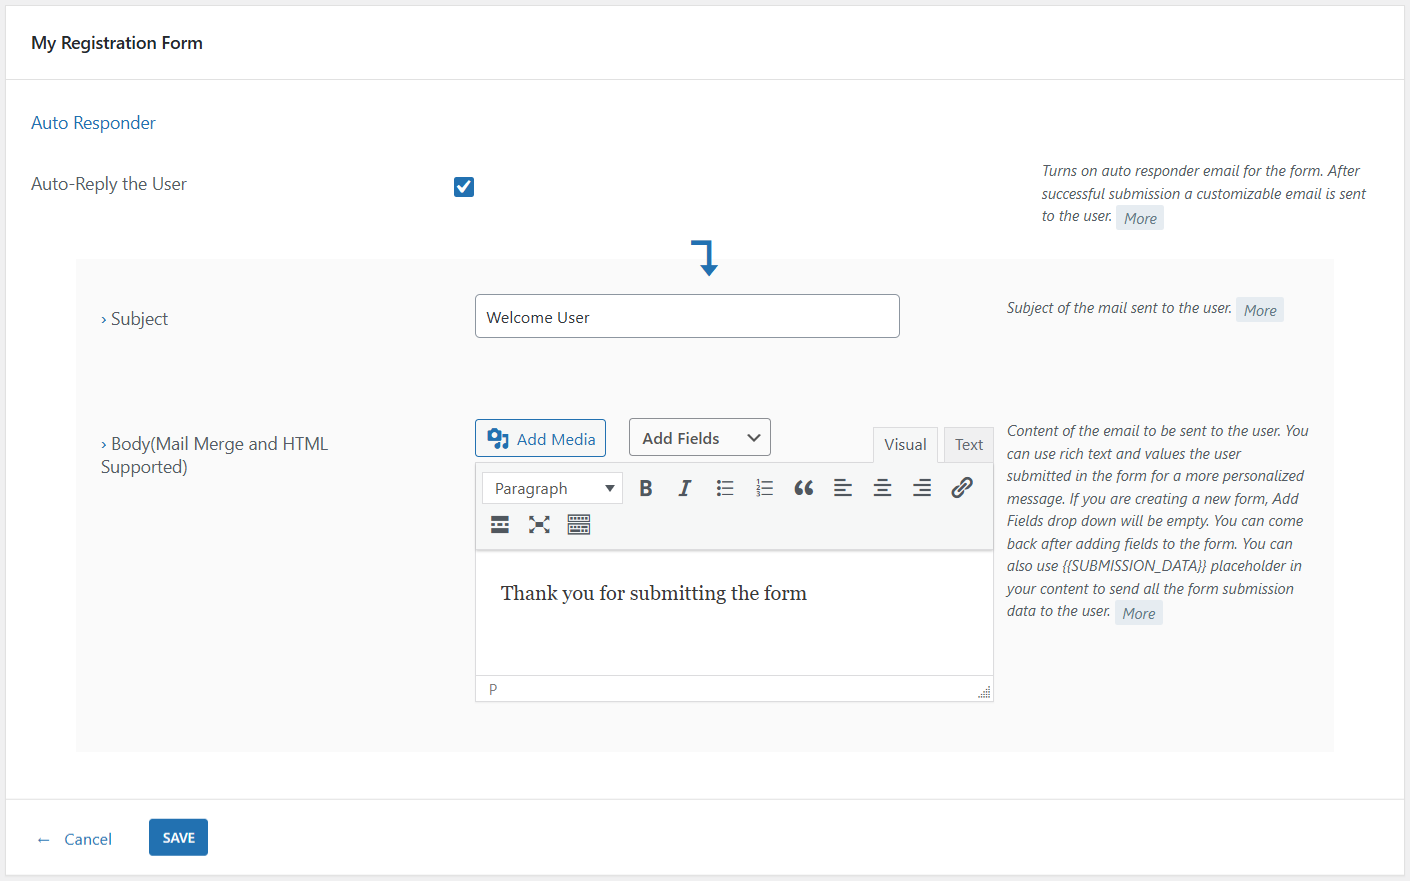
Then go to the input box. Here, you can add a customized message to your users.
You can click on the “Add fields” dropdown above the email content section to add form submission fields data in the email. As an example, if you add the Email field, the user will receive an automated welcome email with user’s email ID in it.
You can even add media files, change font style, add heading etc. This text is backed by HTML and Mail Merge. You can also use Rich Text to customize your content.
Write really catchy content as the welcome email for your users. So that your users feel connected with your site. Lastly, click on “Save” to finish up.
The Benefits of Automated Welcome Emails
So, with RegistrationMagic, it was quite simple to send automated welcome emails after every WordPress new user registration. You can also send account verification or deletion warning emails to your users via automated emails of this plugin.
Since there were options to insert link and media to automated welcome emails, sending fun notes with welcome offers and discounts is now a cakewalk.
Also, since there are options to include the username or other fields of a user in these emails. It is easy to send personally addressed emails. This way your users feel prioritized and so they keep coming back to your site. Yet the admin does not need to write every single mail.
So, rely on RegistrationMagic to take care of most of the manual work on your site. As you focus on managing your business more professionally.
- How to Disable WordPress User Without Deleting Their Account - March 23, 2026
- How to Add Rich Text to WordPress Form - March 23, 2026
- Add CAPTCHA in WordPress Login and Registration Form? - March 23, 2026
- Redirect user to specific page after form submission - March 21, 2026
- How to Send Automated Welcome Emails in WordPress - March 21, 2026
- How to Display Custom Success Message in WordPress Forms - March 21, 2026
- Publish Registration Forms and Display Registered Users - March 19, 2026
- Complete Automation Guide for WordPress Forms - March 19, 2026
- WordPress User Roles, Permissions & Role Editor [Complete Guide] - March 19, 2026
- WordPress User Management Plugin Guide - July 18, 2024
Is it possible to send welcome emails to different kinds of groups like eg. army, navy, airforce by a choice variable they answer in the registration form??
Another question is: If somebody registers we want to send them a personal pdf with there confirmation. They have to sign the form, can it and then return it to us (or upload). Reason: the bank needs a signed document to automatically get our yearly subscription from there account
That is what I am looking for. Is this possible with RegistrationMagic??
Please reply
It is possible to send welcome emails to different kinds of groups using automation feature of RegistrationMagic. Following are the steps for it:
1. Go to Form Dashboard > Automation Settings.
2. Click New Task link.
3. Enter the task name and click Next.
4. Select Field Value Rule.
5. Select Group Field in Select a Field dropdown menu. And set its value to Army.
6. Click Next button.
7. Select Send Email checkbox.
8. Enter the subject and body text of welcome email.
9. Save task.
This will allow you to send email to all the users who have selected “Army” as group option. Similarly, automation task for other group values can be created.
__
About personal PDF confirmation- this can also be achieved using autoresponder work-around and “File Upload” field of RegistrationMagic. Assuming that you want to send confirmation PDF to all the users who have submitted Form F, refer to the following steps:
1. Create Form F1
2. Create File Upload field on Form F1 using Field Manager page. Publish this form.
3. Go to Form F Dashboard AutoResponder settings.
4. Enter in the subject text of autoresponder email and upload confirmation PDF document.
5. Place Form F1 page URL in the body of the email. Specify that user needs to upload a signed copy of confirmation PDF in File Upload field of Form F1.
Now whenever any user submits the Form F, they will receive an email having Form F1 URL and confirmation PDF. Using Form F1 File Upload field, user may then upload the signed PDF document.