Override Global Settings in RegistrationMagic WordPress Forms
User registration forms are essential tools for businesses, organizations, and individuals looking to collect and manage user registrations efficiently. While global settings provide a standardized approach to form configuration, the ability to override these settings on a per-form basis can significantly enhance flexibility, customization, and usability.
Global settings establish a consistent framework, but individual forms often require specific configurations. In some cases, you don’t need to apply “Global Settings” to a form. This is the point at which “Global Overrides” comes into use. Since it allows you to set specific settings for a single form ignoring “Global Settings” completely.
In this tutorial, we will learn to override Global Settings in RegistrationMagic WordPress forms. Please note that not all settings can be overridden. Only those that are available in “Global Overrides” can be.
Navigating to the “Global Overrides” Settings
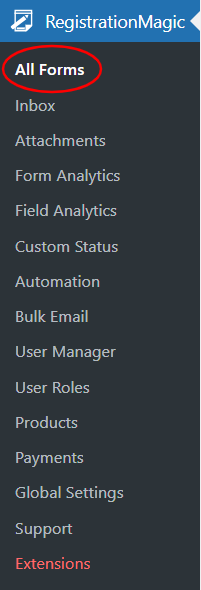
First, install the RegistrationMagic plugin on your site. Then you will find the plugin menu on your backend menu panel. From there, click on “All Forms”.
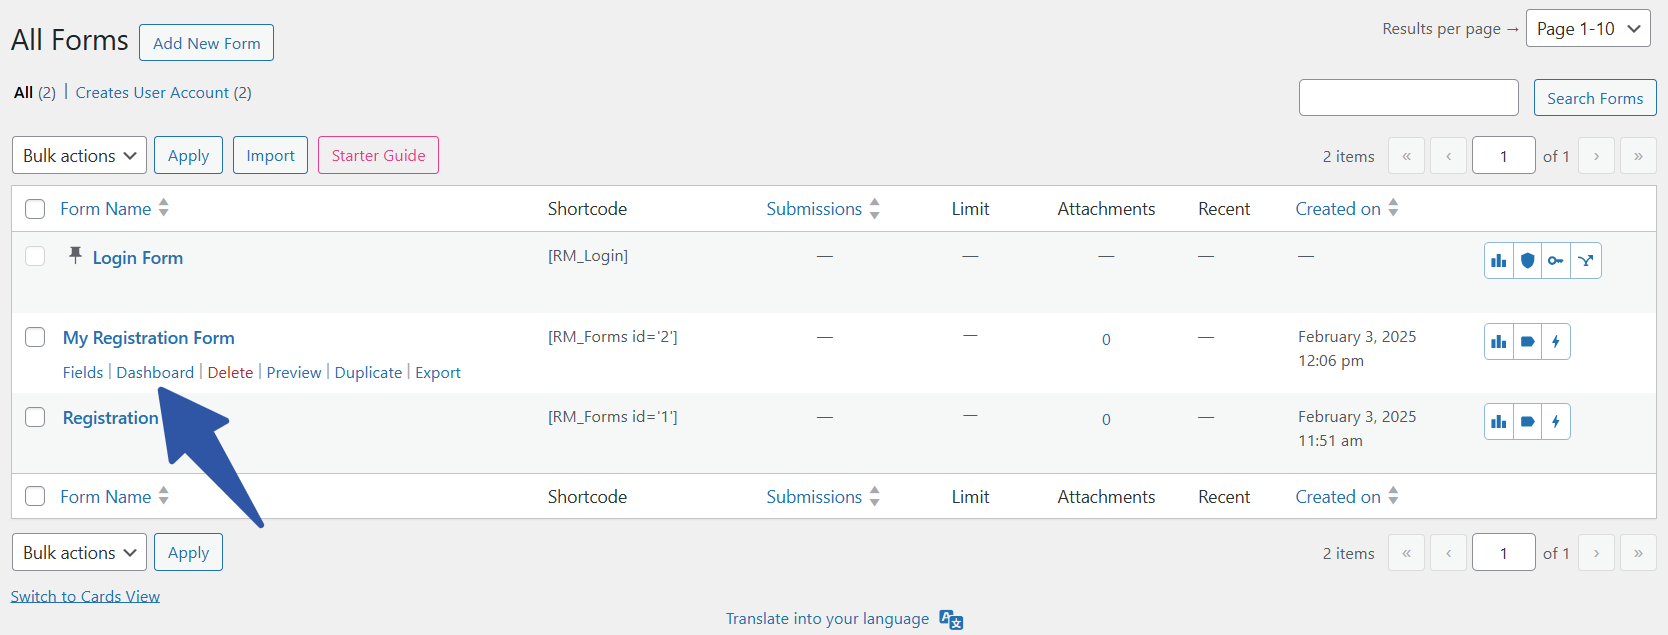
Then you will land on the All Forms page. Here you will find all the forms that you create using RegistrationMagic. Next, hover your cursor on the form that you want to edit and click on “Dashboard”.
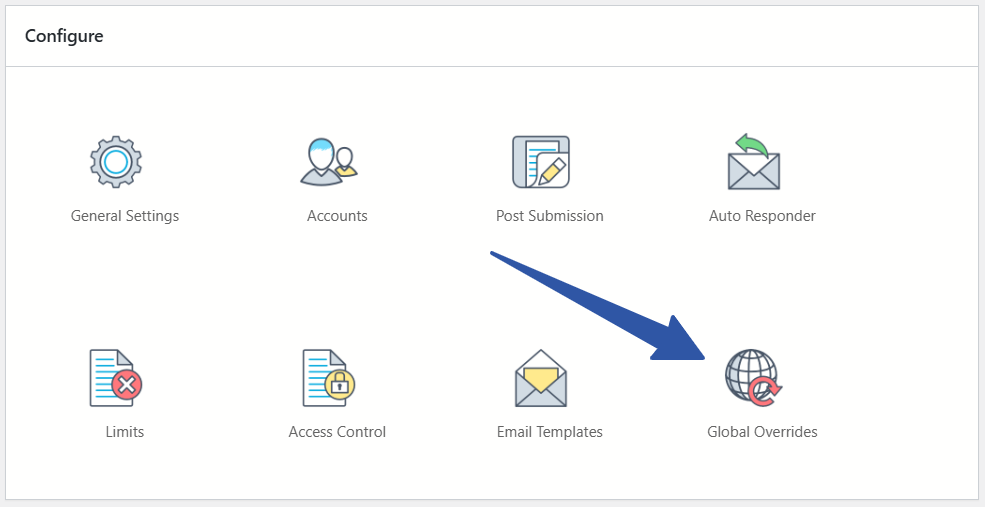
You are now on the “Dashboard” page of the form. From here you can publish and configure its features. Scroll down to the “Configure” section of your form dashboard and click on the “Global Overrides” icon.
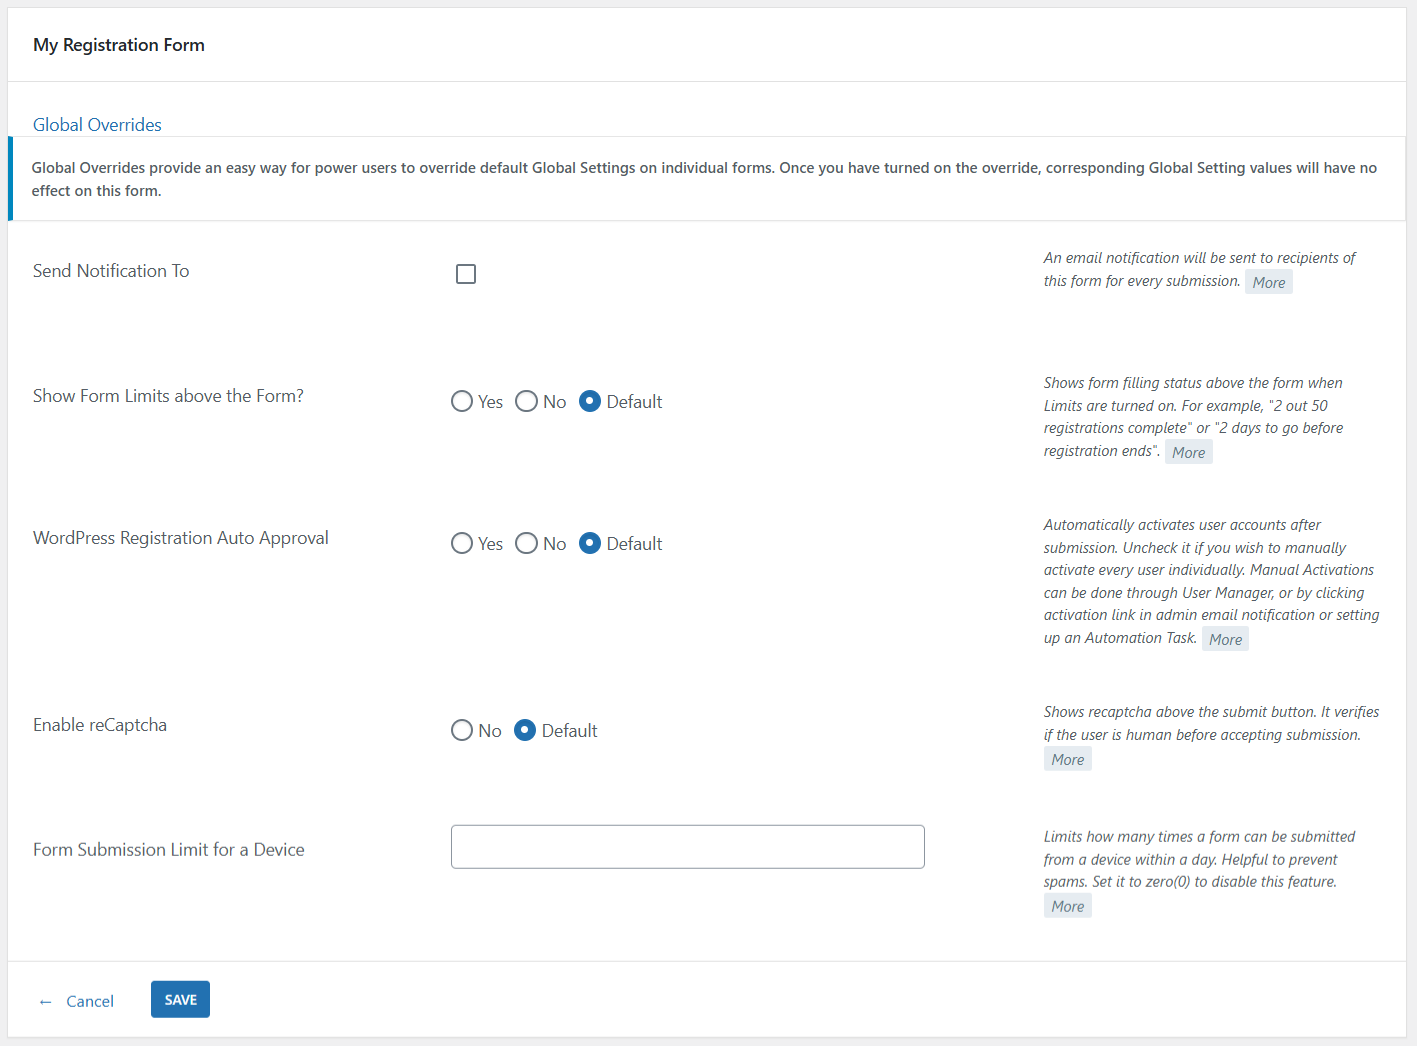
You are now on the “Global Overrides” settings screen. Users can override global settings on individual forms from this page.
Setting up Global Overrides
Using the first setting “Send Notification To”, you can choose to send email notifications to email addresses other than the ones configured from the “Global Settings”. By checking the checkbox, you can manually add email addresses. You can add more recipients by clicking the “Click to Add More” link. This new recipient list overrides the list created in “Global Settings” for this particular form.
The next setting controls display of form limits above the form. The frontend displays a text saying “10 out of 50 registrations complete” or “1 day left for registrations to close” above the form if you have form limits enabled. Selecting the “Yes” radio button displays the expiry countdown. Whereas the “No” button displays nothing. Further, selecting “Default” fetches the value from “Global Settings” itself.
Further, for WordPress new user registrations, the admin has the right to choose which user he/she wants to take in. If admin selects “Yes” in the “WordPress Registration Auto Approval” field, it activates user accounts post submission. If they don’t want to do so they can select “No”. Then activate users manually. The “User Manager” section allows manual activation of user accounts. Choosing “Default” will let the functionality work with the “Global Settings” rules.
You can also override reCaptcha setting by just selecting the “No” option. Selecting “Default” retains reCaptcha settings from the “Global Settings”.
Moreover, overriding it removes the reCaptcha from the form.
The last setting sets the form submission limit for a device. In short, you can set a limit to the number of submissions per day from a specific device. To disable this setting, set the value to zero. Setting values other than zero prevents spammers from submitting the form more than the set number of times.
One Plugin, Many Forms
This is how you override global settings in RegistrationMagic WordPress forms. It comes in use when you want to create unique forms for your site. Not all forms need to be governed by “Global Settings”. This is the advantage of this plugin. It allows users to manage forms globally as well as individually.
As an admin, both these options come very handy. No need to handle each form when you can do it globally via Global Settings. Then again, there is the option to make unique forms when you can override global settings for a certain form.
There’s no need to be a pro at coding or designing forms as this plugin does that for you. So even beginners are making use of it. Thus making it more popular with time.
If you have any queries about RegistrationMagic, feel free to visit our Facebook Page.
- How to Disable WordPress User Without Deleting Their Account - March 23, 2026
- How to Add Rich Text to WordPress Form - March 23, 2026
- Add CAPTCHA in WordPress Login and Registration Form? - March 23, 2026
- Redirect user to specific page after form submission - March 21, 2026
- How to Send Automated Welcome Emails in WordPress - March 21, 2026
- How to Display Custom Success Message in WordPress Forms - March 21, 2026
- Publish Registration Forms and Display Registered Users - March 19, 2026
- Complete Automation Guide for WordPress Forms - March 19, 2026
- WordPress User Roles, Permissions & Role Editor [Complete Guide] - March 19, 2026
- WordPress User Management Plugin Guide - July 18, 2024
How do I notify other users to receive new form submissions in the override section? I add the people who I want to receive notifications, but they don’t receive the emails. All the tests have been successfully completed.
Hi Barbara,
Could you please check if you received the emails in spam/junk folder of your mailbox?
Can the submit button that leads to paypal payment be replaced by a custom button created in Paypal? When I set up the paypal check out in the form, it only re-directs to a paypal login page, but I have set my paypal up to sell via debit / credit card, but this feature doesn’t seem to be available when I use Registration Magic Submit button. Paypal customer service informed me that I have to use the html codes from button created from my Paypal account. Appreciate some help here. Thank you.
That should be possible. You can try using the new PayPal API option. It’ll open a popup after form submission where card details can be entered. User will not be redirected to PayPal site with the new API option.